


Lindsey has one of those blogs that if you need any kind of craft inspiration, idea, or want to see some very creative stuff, you can go there. She is so talented in all of her crafts. Definitely go check out what she creates!
<<<<<<<<<<<<<<<<>>>>>>>>>>>>>>>>>>>
Hello Dream Tree readers! I am so excited to be guest posting for Lesley today. She is one of my favorite reads and I was so excited when she asked me to share one of my crafts with you!
<<<<<<<<<<<<<<<<>>>>>>>>>>>>>>>>>>>
Hello Dream Tree readers! I am so excited to be guest posting for Lesley today. She is one of my favorite reads and I was so excited when she asked me to share one of my crafts with you!
Since we are now entering into the Holiday Season (yay!) I thought I'd share a little project that is so simple and easy, cheap and will last you through Halloween, Thanksgiving AND Christmas....
What more could you ask for right??
When I was getting ready to update my dining room table for Halloween, I gathered all the materials I wanted to use, but the things I grabbed just kind of came up lacking. They needed something to tie them all together.... So, I thought... Table runner DUH! But I didn't have one that would really match the look I was going for.
I started digging in my craft closet and came up with this stuff...

It's jute webbing that I got to make silverware holders (Now they match the runner!)
Anyway... I had just enough for three long strips. You can get this stuff at JoAnne's really cheap, like $.79/yd.
I cut it into three equal lengths...
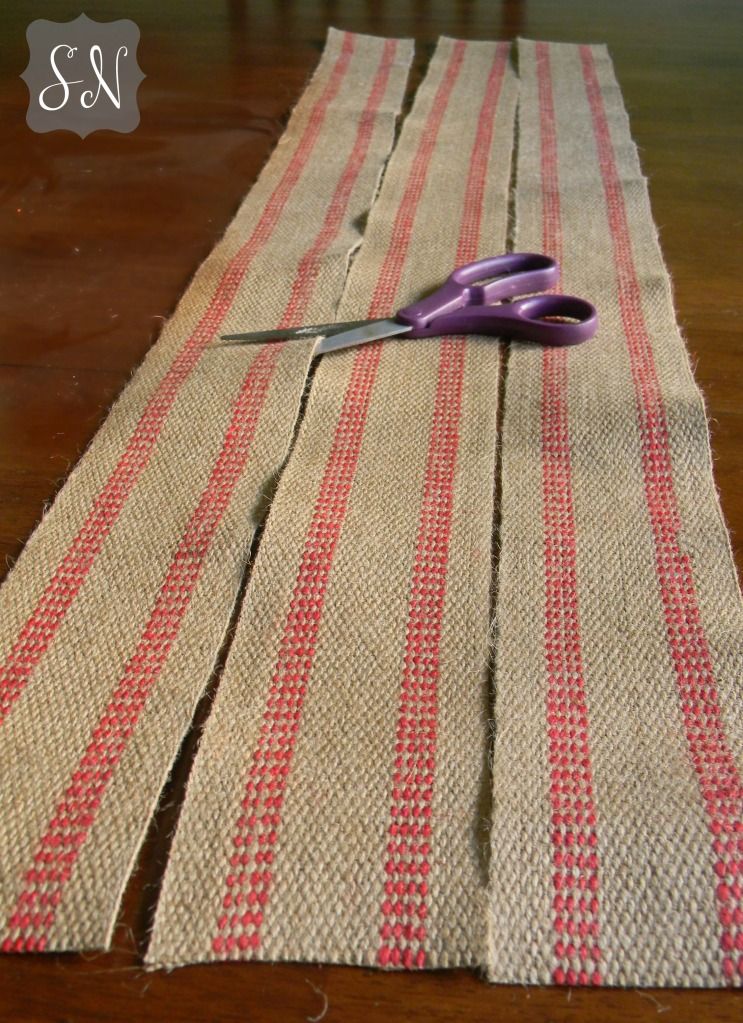
Then I used the largest zigzag stitch setting on my sewing machine to stitch them together side by side. Don't overlap or you will wind up with a big bump. This stuff is thick so it's not hard to keep it from overlapping...


After that, I did a regular stitch across both ends to keep them from fraying.

I pulled the threads above the stitches so that the ends would be frayed a little bit.
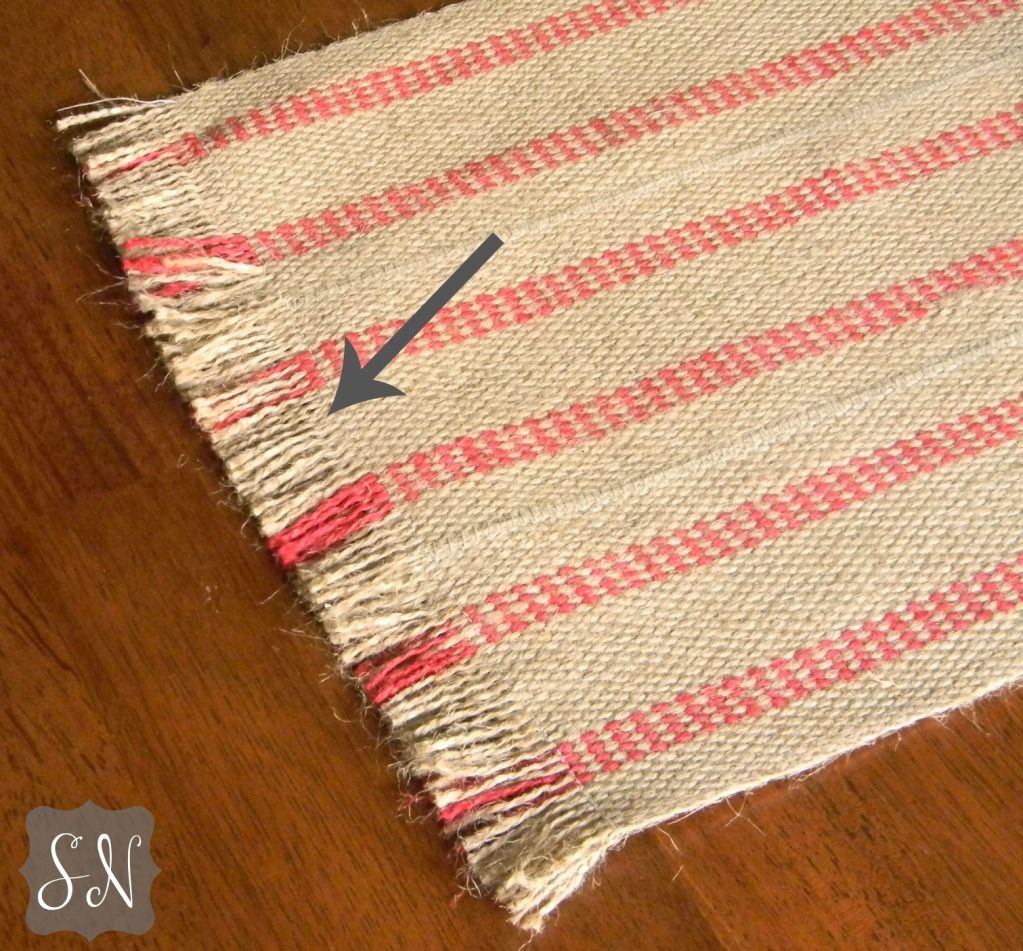
And voila! A table runner in less than 30 minutes.

You can always use varying thread colors, I liked the look of the white thread adding another stripe to the mix, but you could use tan to match or even red or green if you wanted to use it for Christmas!
What I love about it is that I can leave this on my table from now till new years and just change what is on it!
I hope you enjoyed my little tutorial! Stop by and see what the final Halloween table setting looks like at Sensible Nonsense Crafts!
Have a GREAT day!
6 comments:
Oh my goodness, I love this! So cute and simple!
what a cool DIY! makes me wish hat i had a sewing machine so i could make this tonight for our place. i have some burlap to use up!
Super Cute!
If only I could sew straight lines...
this is such a cool idea, but i can't sew very well. would look great on my table this winter so i may have to try. love your stuff.
Thanks everyone! You don't have to be able to sew straight lines really, just follow the line of the two strips together.... Built in guide! :)
Post a Comment